Tuesday 30 September 2014

Lighting

My first quarter scale lights.  


The centre light is low over the dining table.  The ceiling rose is a reversed sequin (painted white).


This is a recessed light over the sink unit.  It is a 1/8th inch eyelet.  I have 99 left!!  How many can I get in one bathroom  Looks like I will need two batteries.  You can attach ten bulbs per battery I am told.

The third light in the room didn't need anything fancy as it is hidden behind the access to the chimney cover over the Aga.  That said I did have to thread a bead behind it to help it locate in the space.  these nano chips are so small.  As you can see they fit comfortably inside something like a 1/16th inch space.

Monday 29 September 2014

Two dressed pieces

Ready for visitors.....

Ruth Stewart's wine bottles, Jane Harrop's cheese board, Pier Luigi cutlery, knife from the Betterlys Pie kitchen kit, table top from Petit Properties kitchen table, legs from Petite Properties picnic bench.


This will go on the fourth wall so when that removes you just have to imagine it in situ.  If I put it in place in the vignette it is slap bang centre (in front of the window) and with its (ugly) back to you so it draws the eye away from the better stuff behind plus you would never see the much nicer front.

It has two pies ready for collection and Elizabeth's gloves abandoned as she came in.  I want a couple of coat hooks with coats hanging and two pairs of wellies in a boot tray.


By the time you are reading this I will be winging my way over the pond for our winter in Naples, Florida.  This probably means lots of peace and quiet for you for a long time as I am bereft of my little ones until next Spring.

I will be going to three shows and I'll share those with you.

There is at least one more post to come....  "How does she do this?" - I hear you ask.....

When I am working I take lots of photos and then work my way through them in digestible bite-size posts which I then keep scheduling to post further down the line - right now it is the 20th and I have one a day until 30th.

Sunday 28 September 2014

Saturday 27 September 2014

Home made


I made these.  I know they aren't brilliant but they look fine half hidden.  

The bunch of grapes are black no-hole beads, cotton thread, red glass paint and a very strange leaf cut out of painted paper.  Wonder how small a leaf punch you can buy????  Mental note:  buy leaves.

The other plate looks much better than this - here they look like what they are - orange beads - in the accessory box waiting for a home they look Christmas oranges with some leaves to decorate.

This is the thing with 48ths - no going out with a shopping list - pretty much if you want something you'll need to make it.  That said I could probably have sourced these but I am getting into this game now with a vengeance.  The more I make the more I want to make.  I'll be doing a scratch-build before I know it.  Something about walking before running?

Friday 26 September 2014

Vendors - New Page

I have added a new Page - see link above - for vendors.

I want to keep a list of quarter scale vendors for my own use so I may as well share it.

Maybe useful for someone?

Books

Here's how I made the books.  Stuck the covers around various thicknesses of scrap material - let dry and cut off.  Originally they were to be just glued together and stood on a dresser shelf as cookery books but sadly all the spines were plain so they looked pretty useless.  I lobbed one on a shelf but I have a cunning plan for the rest.  As we are set pre-Christmas I will have the lady of the house wrapping gifts.  This is the year she bought everyone a book!

The cat can't wait for the tissue and string to come out!


Thursday 25 September 2014

My début - the kitchen

Pretty much finished the kitchen.  I had a huge bash at making as much stuff as I could to fill the kitchen so I could get stuff in place.  Mostly because I was keen to try my hand at lighting at this scale and it wasn't worth doing that if I wasn't ready to get the room sorted.


There is a space to the right of the door waiting for the fridge - Smeg would be nice.  Anyone know where I can get one?

I have since added a runner over in that area too and when the fourth wall is in place there is a sweet dresser in front of the window with twp pies waiting to be collected for the Christmas Bake Sale at the Church Hall the next day.  Hence the wine and stuff on the table waiting for the Minister and his wife to 'pop by'.

There are always more pictures over in the web album - link on the left.

Wednesday 24 September 2014

Organisation - Good housekeeping.

I am learning already that, at this scale, you can't afford to be a mucky worker - all those little bits of flaky paint and blobby glue balls transfer to the construction and look like half house-bricks stuck to your cupboard.

I mentioned the silicone I use a couple of days ago what I forgot to say was that it washes and washes many times before giving up the ghost.  Bit of a scrub with a nail brush and all the glue and paint debris floats away.


easier in the bath rather than a hand basin!

Tuesday 23 September 2014

Proud as a peacock - Aga wall

Do not fall about laughing or, at least, not so loudly that I can hear you.


I am so pleased with my little self.

I fiddled around and around with this kitchen making and painting drawers and dressers and sideboards and pithering around with them to make a country-cottage-kitchen thingy.  It is just not me, so I decided what would I do with my (pretend) second home in the Cairngorms if I didn't have a ton of money to throw at it and everything needed doing.

I need a lot of storage and don't want bits of old furniture painted up and scattered about.

My little people got smart and got hold of some shop shelves (Petit Properties) and an outside bench (ditto) for the surfaces to match the drainer and the table(sort of) and some old wood (aka mount board) and cobbled together some oversize dressers for either side of the Aga.  This also allowed them to hide the flue where it goes into the chimney as that looked pretty ugly.

So this is not a thing of great beauty but it will do until they can afford some company like Smallbone of Devizes to move in and build what they really want.  Is there a quarter scale Smallbone?

I am certain when it is cleaned up, paint touched up and dressed and in situ it will be grand.

Monday 22 September 2014

Clocks - Petworth and Templewood

Petworth Miniatures
I added sellotape to make the glass face.  Just needs a bit of a wash and brush up - always too keen to take the photo.

Templewood Miniatures Clock Collection
Fantastic value and hopefully produces enough clocks (and a barometer) for life!  I think I might have gone wrong on what goes on where because I ended up with a larger face than the wooden clock.  Actually I did eventually glue it on and trim it down and it looks fine - like a kitchen clock without a border.  The kit has slightly shiny clock faces but I blobbed a mound of clear nail polish on them for more definition.  Worked just fine.

Sunday 21 September 2014

Cheap and useful - glass paints


I bought these glass paints from the children's section of a hobby shop for just a couple of dollars.  They have them by those sun-catcher kits for children.  I needed them to paint some wine bottles and didn't want to up the price of the accessory too much.

The real bonus was the absolutely wonderful quality brush - I have no idea why they include that but so glad they did.


click on picture to enlarge

These are Ruth Stewart's lovely set of different wine bottles - complete with labels - which haven't been done here but really make them look terrific.  There are four different wine bottle shapes and two decanters in this set.


I glued the port and sherry decanter to a 'drip' tray/decanter stand - think they need no-hole bead feet - just thought of that!  I added a crystal no-hole bead to the top for a stopper - they catch the light beautifully if I can manage to light my project.

The glue looks ugly here because the photo was taken before it was tidied up and even before it had dried crystal clear.  I love this glue.


Vendors - Well done Petite Properties

Petite Properties are just brilliant.  They have added the completed size of the object you are making on all their furniture kits.  

Just like in real life I find I need to know if I can get that size settee in that space, or bed in that corner of the bedroom or whatever.  Even simple things like chests of drawers can be tiny for beside a bed or a chair or huge dressers for a grand bedroom.  Often there is not really any way of telling which it is from a drawing or photograph of the object in isolation.

So... big thank you to PP.  It actually encourages me to buy more because now I know what I want where rather than be thinking - 'not sure about this or that'

Go take a look you will love their stuff.

Saturday 20 September 2014

How annoying

I was hoping to do something like this 


or this..............


or this


with my Aga cooker.  So, when the latest stuff arrived from Petite Properties I set to work immediately making the two chests of drawers I had ordered to go each side of this 'construction'.


Sadly they turned out to be very large chests of drawers but, of course, I hadn't thought to check before I made them to match the rest of the kitchen paintwork and deliberately set their tops on unevenly - I needed an edge on the side going next to the cooker.


I now have a couple of sets of drawers that may have a very long wait to find a home.

Friday 19 September 2014

Tools - Painting small things


This is how I paint small objects.  Blu tack in the top of golf tees.  In this case some White tack (?) and tees both from the Dollar Shop.  I stick them in any old piece of foam packing I can lay my hands on.  The packing lasts donkey's years so it is just a case of grabbing a couple of likely pieces when the opportunity arises and stop 'someone' from throwing it away (you know who you are!).

Can use it any time you need a 'third hand' - gluing, assembling, whatever.


Thursday 18 September 2014

Rugs

Whilst having a good old tidy up I decided to put all the rugs together in one box - this is what I have so far.


You might know that my absolute favourites are ones I can't repeat.  The top two on the right came from a mini flea market purchase in Sarasota last year.  They were printed on a nice heavyish cotton and had been sprayed/stiffened in some way.  You juts needed to cut them out.  In the packet were a couple of strips of cotton which you could then fringe and attach if you wanted.  They are lovely little kits with instructions but not a clue as to who made them.  If you know, please let me know as I would love some more.

The bottom two are 1/12th fuzzy backed rugs.  The fuzzy backing was a challenge to remove!

It's a start.

Wednesday 17 September 2014

Using 1/12ths

I am still sorting through 1/12ths (all of which I am selling) but now find I am doing it with an eye as to how could I use this/convert this for quarter scale.  I came across a favourite of mine - the tiniest of real paintings.  I don't even recall how I acquired it - certainly don't remember buying it.  It is a quality piece of work because all that detail is on just over half an inch of card.

It makes my 48th people a thirty inch wide painting.


Tuesday 16 September 2014

Miss Lydia Pickett's Cottage Collection - Pie Kitchen Accessory Kit

I am absolutely in love with this wonderful kit by the Betterleys.  Oh how I wish they did lots and lots of accessory kits.  I am really struggling with how to dress the furniture and rooms and I am making and things like this are just a joy.

Incidentally I can't find it on their site but it is on Suzanne and Andrews.

I remember thinking $26 dollars was a lot to pay and confess to hesitating - how daft - there are at least ten possible small kits here - so less than $3 a time!


click on the picture to enlarge


The thing I found the most difficult to make was the draining rack but, as with all these things, you suddenly see a way to do it and it just falls in place; it just took a long time to happen.  My pies aren't great and, strangely, the best one is the first one; the second one is not so good and the big, fat, worst one is my third.  How do I know which is which? - one steam hole, two steam holes, three steam holes.  This is the real life method of recognising different fillings!

It would be invidious to pick a favourite thing, I like them all.  The only change I made was to stick the lid of the flour cannister and not do the open flour bin and rolled out pastry vignette that is suggested.  In real life (for me) that wouldn't ring true.  I have three baked pies - all my mess is cleared up.

Don't look at the picture and think their scale is wonky - the items in the foreground seem too large - they aren't.  

On the front right are two tea towels that need scrunching and hanging somewhere and a pair of oven mitts (fabric), ditto.  These and a sampler ready to frame and hang are little extras in the kit.  |The four plates were for the draining rack but I put the extra tea cups and saucers in that.  The tea tray with teapot and two cups and saucers is so sweet. 

Monday 15 September 2014

Organisation - furniture and accessories

Originally I had my finished things just dropped in a box with the room name on the front - Bathroom, Kitchen etc.  This proved to be a rubbish idea; stuff got jumbled and could be easily damaged and very soon I discovered that a particular chest of drawers or chair or whatever could go in several rooms and I didn't have fixed ideas for what I wanted where.

Here's my solution:


These boxes came from Wal-Mart last year for $2.50 each from the bead section and are a perfect fit for this teeny stuff.  Hope I can get some more this year.


Sunday 14 September 2014

Tools - silicone sheet and pick-up pencil


The first useful piece of kit is the cheapest of cheap - a silicone sheet.  You can get them in places like Aldi to go in the bottom of the oven (usually black) or just as non-stick sheets for baking - like this one - cost? about a pound I think.  I use one side to paint and stain things on and the other side for gluing.  You could go mad and have two!  Why is it brilliant? - because, as they say, nothing sticks to it; so when your glue or paint is dry you can pick up your object and go.  This is made easier if you don't leave it sitting in a puddle of glue or paint - just nudge it away from that when leaving it to dry.  It would still detach perfectly easily but you'd have to trim off the nice paint or glue base your object had acquired.


Even cheaper is this 'pencil'. It came free with Dolls House & Miniature Scene magazine last year and it just the MOST useful tool ever. Google 'pick up pencil' if you want to buy one. It has a very slightly tacky centre so you can easily and instantly pick up very small things.  In this case it is picking up one no hole bead, always in one go with no fiddling about, so I can stick it in place - again, in one go.  The tack of the glue is stronger than the tack of the pencil so no competition - instant release.  Just marvellous.

Incidentally the 'spoon' is a dessert spoon size measuring spoon - love it - I use if for glue, mix paint in it, scoop paint from larger containers with it and park endless teeny stuff in that I don't want rolling around and, guess what, it has a really useful handle too.


This is what I was using the pick up pencil for - knobs on cupboards.

The right hand piece is painted much better than the left because I painted it before assembling.  I know Petite properties instructions are build it and then paint it, but this works better for me.


The Photographer's Studio

You may have noticed the background to every finished item I have shown you is the same and are probably thinking, 'Poor soul that's the only room she has got finished'.  Well, you are kind of right but it actually isn't a room - it is two pieces of cardboard, some leftover 1/12th flooring a bit of wallpaper and a coffee stirrer.  "Eh, Voila, we 'ave (in my head I am a French photographer!) a 13 x 19 foot room".  Strange French person measures in feet.


P.S.  It has cardboard on the back, so it stands up without my support!


Saturday 13 September 2014

Organisation - paints, glue etc.

......  and a plea to business people to pass on stuff.

On our way home from Scotland last weekend we stopped to eat at one of those farm-type places that get known for their ice cream.  This was a bit of a cheat as it was bought in and not made there (!) but it came up trumps with these....


In the entrance were huge stacks of empty ice cream cartons with lids and a note saying - please help yourself and leave a donation in the Guide dogs for the blind box on the counter.  Dilemma two how much would be expected?  Dilemma one how many do I want?

Cost was easily and comfortably settled with my conscience because I just asked if 20p per box would be OK - they looked thrilled (!) and said anything was fine they just want to get rid of them.

Dilemma one - made the wrong decision on this.  I took ten of them thinking they might do for storage of some sort.  Curses!  This place is about three hours drive away and I want a zillion.  Why I didn't just take masses of them and stick them in the loft until I needed them?  I have no idea.

Meanwhile nine of the ten are in place in my quarter scale work cupboard.  I know I can re-arrange shelving better and get loads more stuff in but, for now, this is all I need for my new hobby....  and I only have one more matching box left!!!  Curses.


Friday 12 September 2014

Nothing happening?

You might have noticed I post something most days, so if there is nothing happening here that is because it is happening over in my other quarter scale project.  I have never run two projects and, therefore, two mini blogs at the same time, so I am already a little bewildered as to what goes where.

Any way if you want to sign up for the other one as well, you can find it at Maison de Maitre. 

I am stewing on getting a dedicated Quarter Scale show started here in the UK somewhere next summer - let me have your thoughts - interested vendors and prospective customers.  Email me at my usual email address if you don't want to natter here.  mormson@gmail.com

Thursday 11 September 2014

News from Templewood

I have a bit of a dilemma....   I don't normally have two project blogs running at the same time.  When I did my twelfths I just concentrated on one build until it was finished.  Now, with quarter scale I have discovered I need to collect pretty much everything I need before starting a build.  As I have two things I want to do - this Gate House and the Maison de Maître, I am busy collecting and making for both of them to see which one gets everything it needs first and therefore allow me to actually get on with the build.

This means any 'newsy' bits fit in either blog - so how to do this?  Publish the same thing in both?  Bit wearing for anyone reading both.  Publish in one but then it doesn't reach the other quarter scale folk - heck! who knows.  For now I am running this Gate House as my current blog as this is where I started, so everything will just be tipped in here for now.

So.....

After writing to Alan and Kathryn at Templewood about their lovely Mackintosh furniture, Kathryn mentioned her newsletter.  It is a really useful occasional newsletter and it means you are part of the kty's 'club' and will get advance notification of new stuff and a discount.

 member of my kty club - its free to join and I send out the occasional newsletter - probably only 4 or 5 a year as I hate it when you get inundated with them - and my kty club members get first notice of new kits and a discount initially 

if they would like to write to me atkathryn@templewoodminiatures.co.uk and put kty club in the subject line I will enroll them with pleasure


or Click here and follow the instructions - Templewood's newsletter

..........  meanwhile here is the latest news from them:


Once we have come home from Miniatura which is next week - Alan will be designing more kits as he wants to have some new ones for Philly at the start of November - we will put them on our web site  

.......we are at the moment working a range of laser cut designs for paper flower kits all taken from real leaves and petals and on very special papers - starting off wirth just a few fall flowers and then building up as we go along

best wishes Kathryn

Wednesday 10 September 2014

Love this little set of furniture

I am so glad my chosen dining table doesn't seat twelve!  I now also know why (almost) no-one is making quarter scale finished furniture to sell - by the time I had made six identical chairs I was screaming inside my head.

I am really pleased with how these turned out.  Firstly, and mostly, because they are beautiful kits by Templewood Miniatures.  Also they are better than some previous ones that I did because I am trying to stop short-cutting the various steps needed to get a good finish.

I began by rubbing down the pieces while they were still fixed in their frames.  I used the piece of Abranet which had come with the Jane Harrop kit.  When they were gorgeously smooth I thinly coated them with a silk finish, water-based varnish on both sides.  When that was dry, I buffed them up by rubbing them over a piece of ordinary printer paper.


They were no more fiddly to do than most things at this scale and I suppose doing six of them did give various steps in the process time to dry - well, enough time to allow me to handle them (carefully) whilst doing the next step.  I don't think I am ever going to be able to leave stuff overnight during construction.

I confess to breaking two of the pieces getting them out of their frame but that was probably because the varnish had helped to seal them in a bit more.  Not a great problem as they glued back together just fine and even I can't find the breaks.

I also rubbed down all the edges after they came out of the frame as they were sort of 'nibby' from the varnish.  They came up beautifully with just the copy paper method.


Here are the six chairs in process.  Doesn't look much does it.


All done.  One thing I did change.  The last piece to go in is the bar across the front of the chair.  After I struggled with this on the first one I decided it was far easier to put this in before sticking on the back of the chair, so if you buy this kit, bear that in mind.


I made the lovely dining table earlier today.  I will give them a bit of a glue-clean-up tomorrow when they are bone dry and they will look even better.

Mackintosh style table in cherry wood  £3
Two (yes, two!) Mackintosh style high back chairs in laser cut Cherry wood £3


Monday 8 September 2014

Vendors - Jane Harrop


Jane Harrop

Art Deco dressing chest
£5

This will be a bit more extended than some of the previous 'makes'.  It is the last of my selecting one from each vendor that I have bought so far and, already, I feel as though I am picking up so much information as I go along. I felt confident enough to tweak the last one so, coming to this, I wondered what I might do here rather than just open the packet and do as I was told.

Jane's makes are lovely just as they are so I didn't want to change it other than I fancied a very slight wood frame around the mirror.  I know it is wrong and the deco one would be just as Jane's is but my mom's real one was just a 'cheap' thirties dressing table and the mirror was set so that it had an edge around it. Why that matters to me I have no idea.

So the extended write-up is to share how I am pandering to my finickiness.


lovely picture

Nice clear packaging BUT no Jane Harrop to be found.  I wonder why she has chosen not to put her name and contact details on the outside of the package.  That said there is a distinctive style and I can certainly pick her work out from the stash if I am looking for something.  

great instructions


Her instructions are spot on.  Clearly written, clearly explained, tons of step by step pictures.  She has written a couple of how-to books and it shows.  There is even a lovely glossy photo attached.


As for the kit itself - it is absolutely perfect.  It is made from lovely quality thin wood and, because of some very clever cutting,the pieces come in the usual 'frame' but the nib is so very tiny that the pieces are almost free wheeling (indeed some are) and (others) just need a gentle nudge to free them completely.  I didn't need to de-nib at all on this kit. Big plus.

She does generous things like giving you three pieces for the two you need when the pieces are very fine like the support pieces for the mirror so, if you snapped one, you have a spare.  The kit also contained ten (!) drawer handles for the four needed.  In addition to this she included a piece of Abranet (pricey stuff) and card so you could smooth the wood to a really silky finish.

Abranet

I did this by pinching the piece between my fingernails.  I was concerned that I might rub the nose of my tweezers if I used those.  The result was astonishing.  You start with what you think is perfectly smooth wood and end up with something as smooth as silk.

dirty paper

After staining she suggests rubbing the piece on the back of the instructions paper to buff it to a slight sheen.  The mucky paper proves that it works like a charm and would have been even better if I'd used a better quality stain pen.


testing, testing

This is where I start to get picky.  The handles with the kit are in the same wood and I wondered if they should be stained to match - the obvious solution - but then they wouldn't show up much.  I tried them in chrome (silver pen) or natural but glossy so they look a bit like Bakelite.  You need to stretch your imagination a little.  I also tried black.  Finally I settled on the natural plus nail polish for a plastic finish.

bit of a clean up

Next bit of picky - the lines for the drawers needed redefining.  They fill in a little with the stain and some of the wood fibres swell, so I went over the grooves with a dental pick.  My eyes and motor skills need the help of a magnifying glass for things like this.


always measure

I don't do anything by sight that I can do do by measuring.  We are notoriously lop-sided as humans and favour one side or the other - how many times do you hang a picture or a mirror and it tilts to the right (or left depending on your dominant hand/eye).  Yes, I use a spirit level......


template?

Drawer handles the same - make a 'template' after measuring and then mark where the handles will go.

wonky handle!!!!!

Ta-da.... do I need to say it again?  The real object is much better than its portrait.  Silky smooth and really dainty.


Sunday 7 September 2014

Tools - Deluxe glue

This is the glue I am always singing praises about.  Thought a picture would help you locate it easier than just writing down its name.

So far, after four years of using it, it has managed to stick any material I wanted to any other material.  It is strong, slightly flexy for a while but gets stronger and stronger.  It will stick painted or varnished pieces together.  Can be varnished or lacquered, is waterproof when dry and is so clear I have always used it to put in clear acetate for windows etc.


Saturday 6 September 2014

Tools - The tile


In an earlier photo there was a shot of my handiest tool - a small glass tile.  I put small amounts of glue on it to pick up with a cocktail stick or whatever, I use it in the same way for small amounts of paint.  I even mix paint colours on it.  When it doesn't have an inch to spare I put it in some warm warm in my bathroom sink and let it soak for a couple of minutes.  I then scrape it with the plastic yellow scraper - or anything similar and almost everything comes off really easily.  I think what stays behind is probably super glue, but I just attack that with my small ruler or something similar and hey presto - brand new tile ready to go again.

I know a lot of people save bottle caps and stuff for these jobs so they can just throw them away when done, but I don't want the trouble of cleaning them up to use and finding a space to store them, so this is my solution to being lazy and strapped for space.

Friday 5 September 2014

Decorating china -True2Scale

True2scale

Dishes with holly decals
£6.08 (odd price because it would normally be in dollars but the site automatically converts for you if you are doing a UK search - clever stuff)

I have had a go at doing these dishes and decals in their 1/12th scale and confess to finding them quite a challenge.  I think if you have the temperament to work in quarter scale any way it is the sort of thing you actually enjoy.  Not so for me, just yet; I approached these with something resembling fear.


True2scale must have the best packaging around - so attractive and distinctive in their little silver envelopes.  Minimum information on the pack, but enough to make you want to buy....


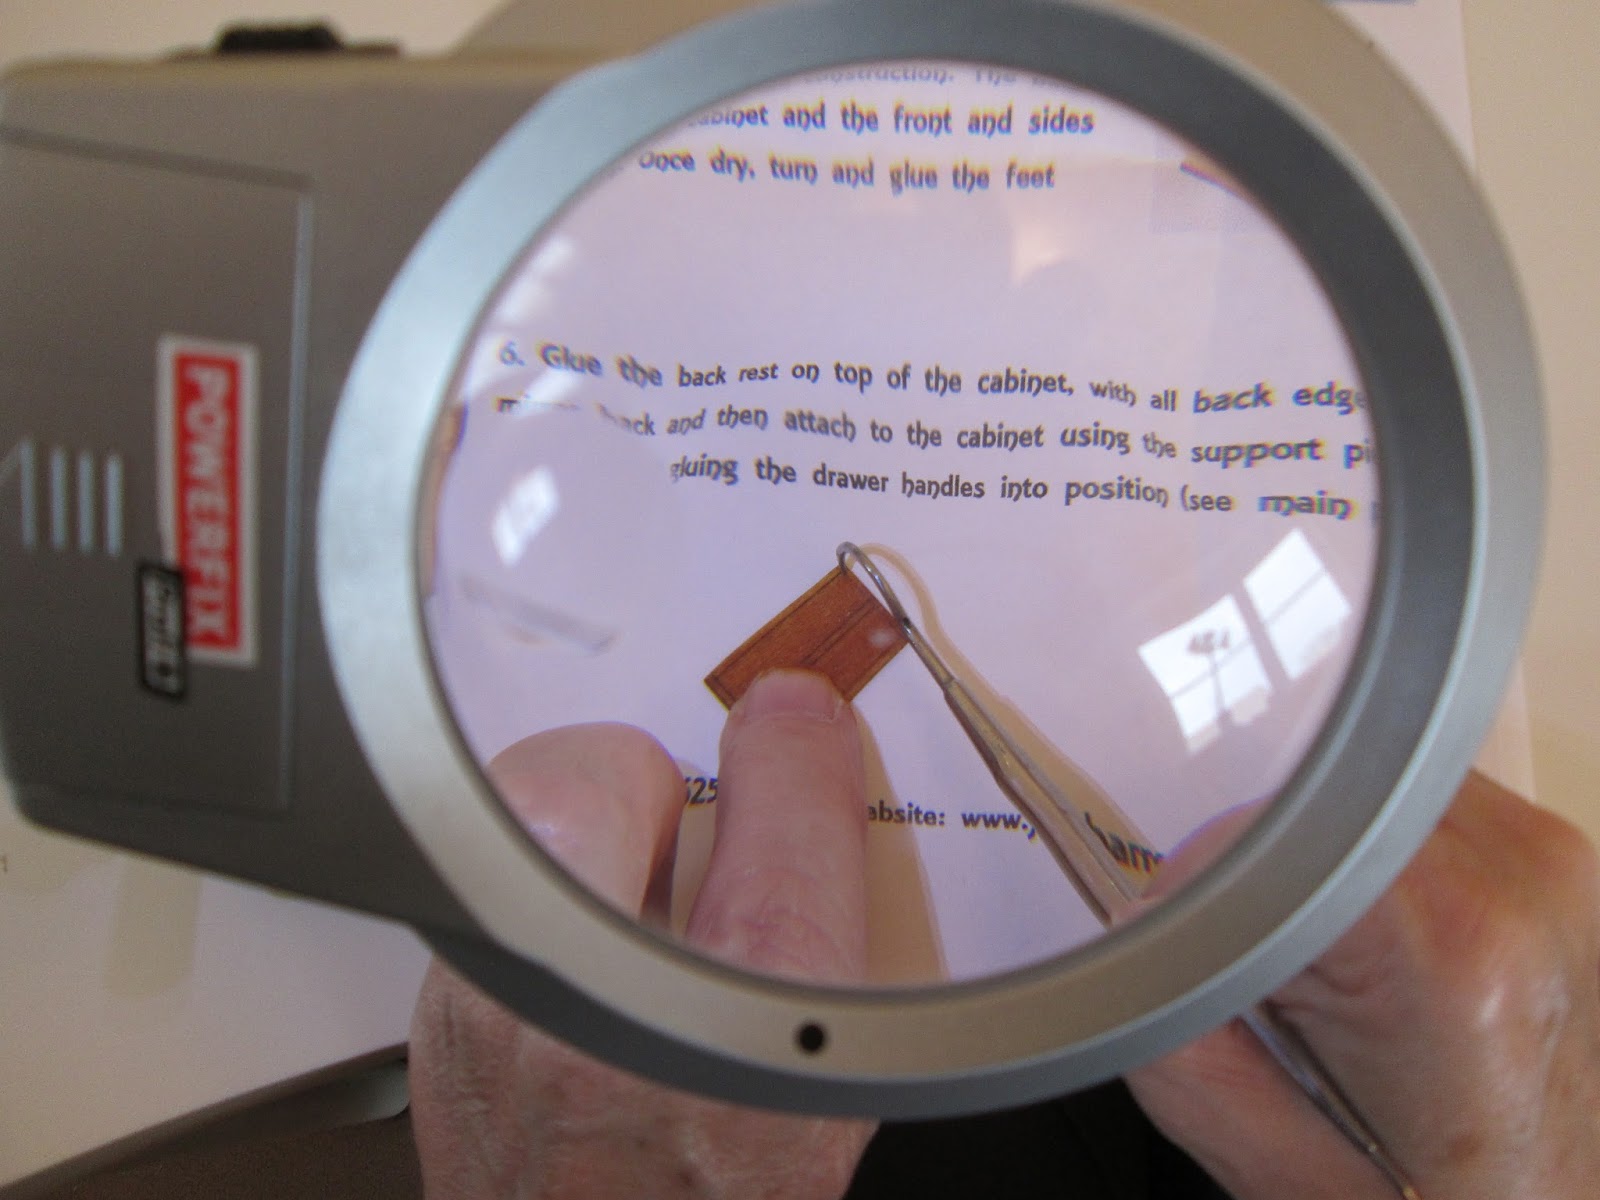
Very good instructions covers every question you might have.  The smallest decals are about pin-head size so it is decidedly daunting at this stage.

I followed instruction number 1;  I washed and painted my dishes, but from there on we diverge considerably.

Let me state up front Carol's instructions are clear and doable and I have seen her results and they are lovely but, because I had a hard time last time at four times large than this, I thought I might try some other approaches. Either way I was comfortable with the thought of washing everything off if I couldn't make it work and just having a plain white set of dishes.  The detailing on the shape of the dishes is lovely.  I wonder if she would sell plain sets?


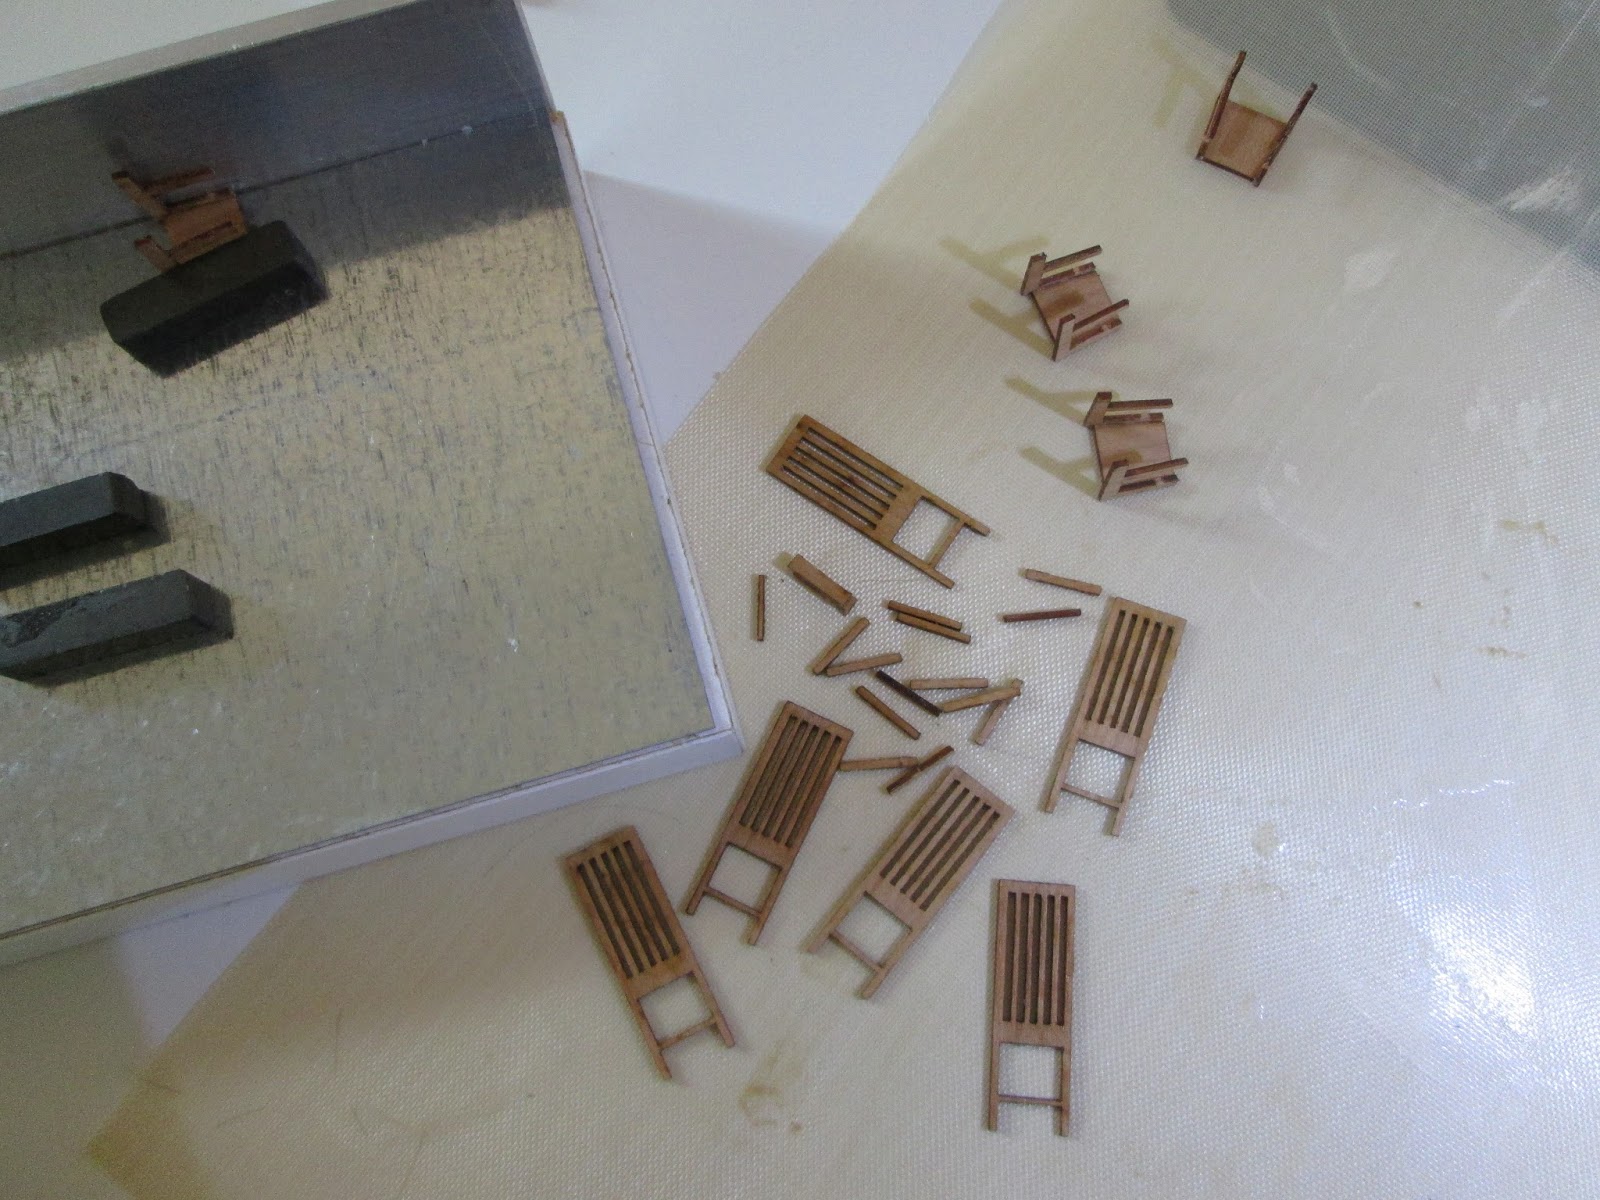
Step Number 2 advised cutting out with a X-ACTO knife.  My knife skills aren't up to this so I did it with a small pair of very sharp nail scissors with slightly curved blades.


Number 3 says to cut the large plates and small plates from the sprue and leave the bowls attached.  I don't know why and will probably discover the answer to that when I come to remove them!  I want to leave all mine attached until I am ready to arrange them in some way, otherwise they will be a pig to store.

Number 4 describes dropping a decal in a shallow bowl of warm water.  I found the really tiny ones nigh on impossible to fish out so it was much easier to dip my index finger in water and pick up the decal (decal side up) and gently slide the back off with my thumb.  This left the decal on the end of my finger ready to put in place.  I guess anyone with really fine tweezers and lots of tweezer practice would go Carol's route.

When I did the 1/12th ones I managed to get the decals in place and thought I had eliminated all the air beneath which is the only way they will dry and shrink back tight to the surface and stick in place.  Sadly what I thought I had done and what I had actually achieved was two different things and most of my decals dropped off as soon as they were dry.  This time I brushed some of my favourite glue on the dish, dried the back of the decal and stuck it down.  The glue is milky when using so you can see what you are doing, but dries absolutely clear. (Deluxe R?C modellers craft glue).

I then moistened my little brush in water and picked up some of the glue and went all over the surface and round the edges.  This will glaze as well as help stick the decals down.

When I followed Carol's number 6 instruction about varnishing last time it seemed to lift some of the decals on my big set.  I was using a water-based varnish and think that was the problem.  They are happy to float away on a bit of water.  The glue I amusing here is actually waterproof when dry and is crystal clear and doesn't yellow with age.  All round good stuff.


Strictly speaking you aren't seeing the finished product here, they are still a bit cloudy waiting for the glue to be absolutely dry.  The probably need a bit of a trim and, of course, removing from the sprue.  Right now though I think it has been a success.